





Why is my PC suddenly overheating?
A sudden spike in PC temperatures is almost always caused by restricted airflow due to heavy dust buildup on your intake filters, CPU cooler, or GPU heatsink. Cleaning these components restores proper airflow and brings temperatures back to normal.
Look, it is 2026. If you are still dragging your heavy gaming rig to a repair shop and dropping $50 to $100 just because it sounds like a jet engine, we need to talk.
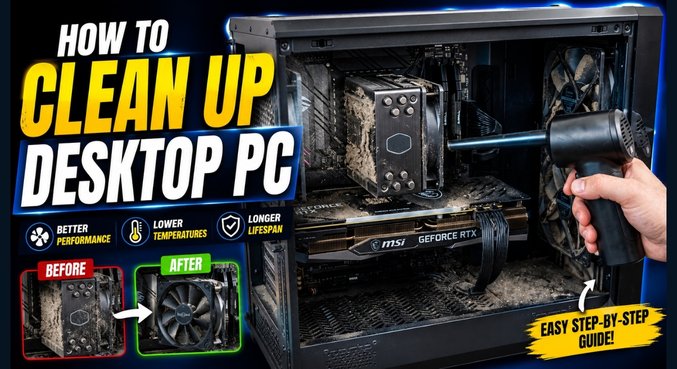
Before you panic-buy a brand new liquid cooler or convince yourself your graphics card is dying, just open the side panel. Take a look inside. Nine times out of ten, your hardware is perfectly fine. The real villain? A massive, suffocating blanket of dust choking your components. Dust acts as an insulator, trapping heat and forcing your fans to work overtime.
Let’s walk through exactly how to tackle this mess yourself. It is incredibly easy, takes maybe fifteen minutes, and costs basically nothing.
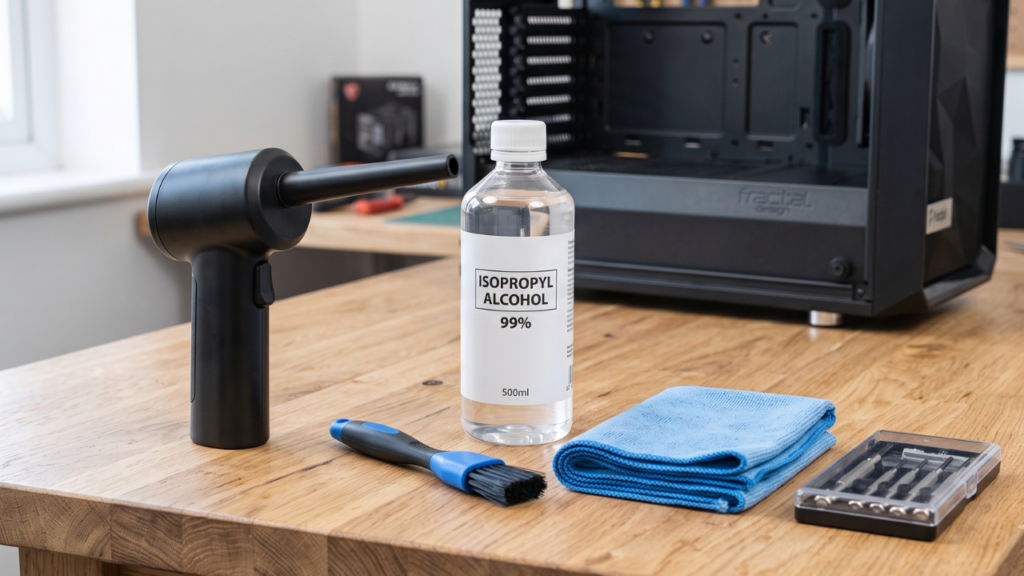
You don’t need fancy, overpriced “gamer cleaning kits.” You likely have everything you need lying around the house right now.
| Tool | Purpose | Cost |
| Electric Air Blower / Canned Air | Blasting dust out of heatsinks and tight crevices. | ~$10 – $30 |
| Lint-Free Cloth | Wiping down glass panels, shrouds, and flat surfaces. | ~$5 |
| Isopropyl Alcohol (90%+) | Breaking down stubborn, sticky dust without leaving moisture. | ~$3 |
| Your Hands | Holding fan blades in place (crucial!). | Free |
First things first: shut the system down completely. Flip the switch on the back of your power supply to the “O” (off) position, and pull the power cable right out of the wall. Unplug your peripherals, display cables, and anything else tying the PC to your desk.
Now, strip the case down. Remove the front panel, the top panel, and the glass side panels.
Pro Tip: Put your thumb screws in a small bowl immediately. Dropping a tiny black screw into a dark carpet is a nightmare you do not want to experience.
Pull out all your magnetic dust filters. Most people remember the front intake filter, but completely forget the most important one: the power supply filter hidden on the very bottom of the case. Pull that out—it is probably horrifying.
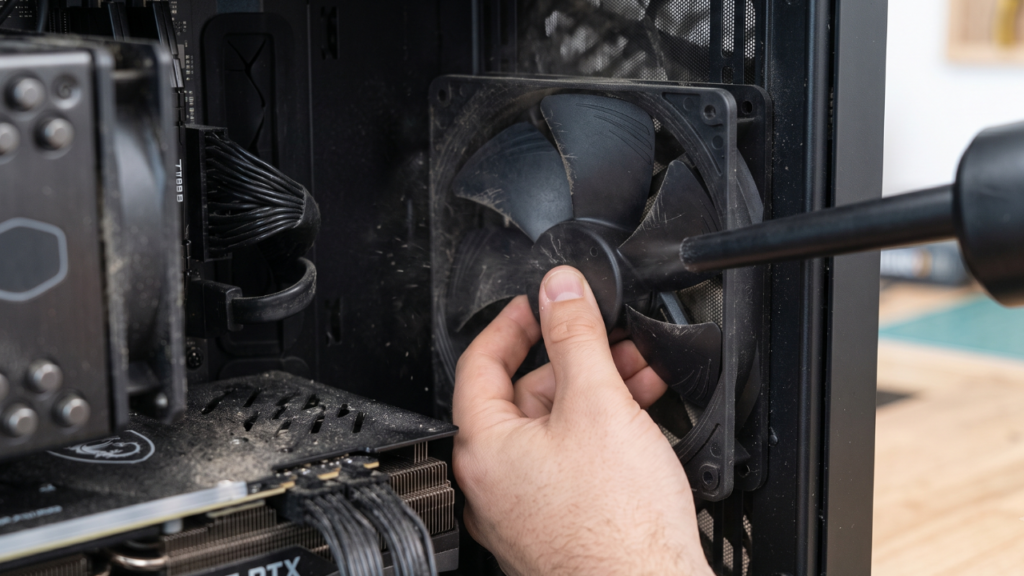
If you only remember one thing from this guide, make it this: Never let your fans free-spin while blowing air through them.
When you hit a PC fan with a high-powered electric blower or compressed air, it can spin significantly faster than its rated speed. Because PC fans are essentially little electric motors, spinning them manually turns them into miniature generators. They will send a rogue electrical current backward into your motherboard or GPU, which can instantly fry your fan headers or completely kill the board.
Before you point a blower at any fan, physically grab the blades with your fingers to hold them completely still.
When you decide to clean up desktop hardware, the order in which you tackle the components matters. You want to work systematically so you aren’t blowing dirt onto parts you just finished cleaning.
1. The CPU Cooler
Start right in the middle with your processor cooler. Hold the fan blade still with one hand, and blast air through the metal fins. Hit it from the front, and then blow air through from the opposite direction to knock loose any deeply embedded dust bunnies.
2. The Graphics Card (GPU)
Your GPU is usually the most expensive part in your rig, so treat it nicely. Reach under the card, hold those fan blades firmly, and angle your air blower straight up into the metal heatsink fins. Dust loves to cake up where the fan meets the metal.
(Pro Tip: If your graphics card temperatures are still dangerously high after a basic dusting, it might be time for a full teardown and thermal paste replacement. Check out our comprehensive step-by-step guide on how to properly clean and maintain your GPU for a deeper dive.)
3. Case Fans and Chassis
Move on to your front intake and rear exhaust fans (holding them still, of course). Finally, do a broad sweep of the entire case interior, blowing dust out of the bottom shroud, the drive bays, and the corners.
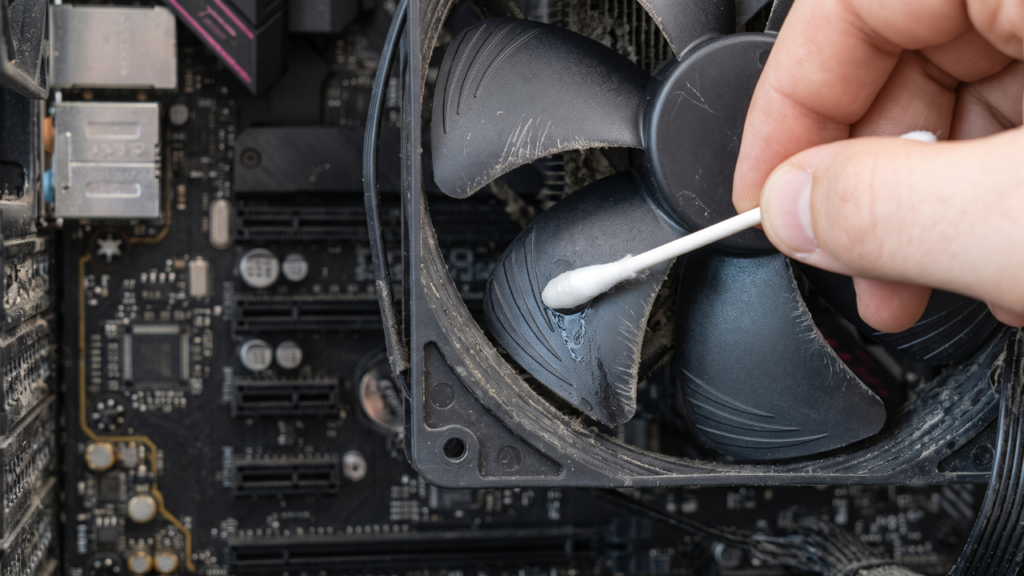
Sometimes, air isn’t enough. If your PC lives near an open window, or in a house with pets or smokers, the dust can turn into a sticky film that clings to your fan blades.
For this, grab your lint-free cloth and apply a small splash of Isopropyl Alcohol. Gently wipe the leading edges of your fan blades and any plastic shrouds. The alcohol cuts right through the grime and evaporates in seconds, meaning there is zero risk of water damage. (Just be careful not to accidentally touch your CPU block if you’ve recently applied thermal paste—that stuff somehow always ends up smeared across your hands, your shirt, and your desk).
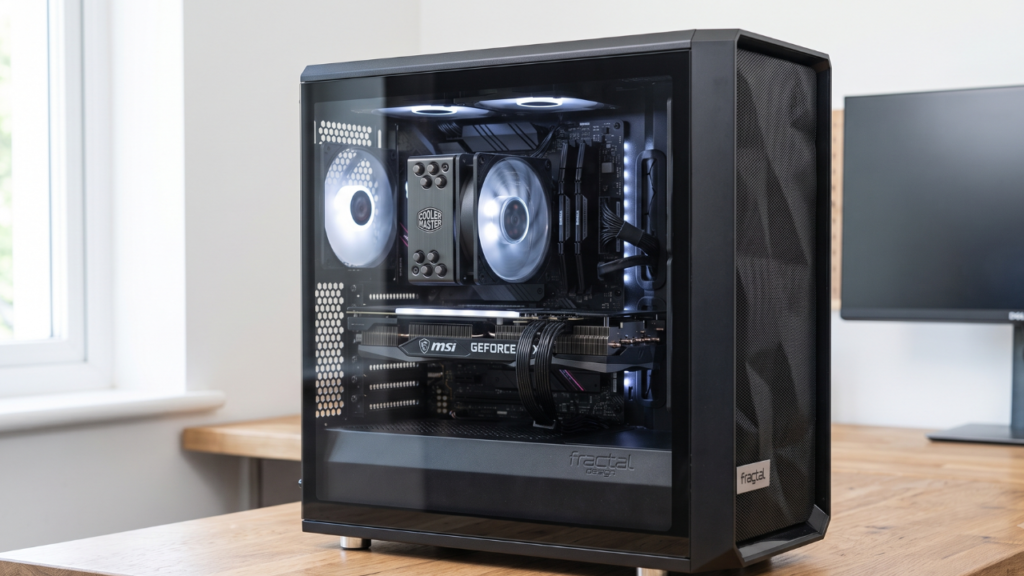
Once everything looks spotless, snap your dust filters back in, reattach the panels, plug it all back in, and boot it up.
You’ll immediately notice the difference. Your system will run quieter, your temperatures will drop, and your hardware will boost to higher clock speeds. Best of all? You just saved yourself anywhere from $50 to $100 by doing a basic maintenance task yourself. Keep up with this every few months, and your rig will last for years.
FAQs
1. How often should I clean my desktop PC?
For most users, opening the case and blowing out dust every 3 to 6 months is ideal. If you have pets that shed, or if your PC sits directly on a carpeted floor, you should aim to clean it every 1 to 2 months to prevent severe buildup.
2. Is it safe to use a vacuum cleaner on my PC?
No! Vacuum cleaners generate a massive amount of static electricity around the plastic nozzle. Touching a sensitive motherboard component with a vacuum nozzle can discharge that static and permanently kill your hardware. Always use forced air instead.
3. Do I have to remove the CPU cooler to clean it?
No, removing the CPU cooler is usually unnecessary for a routine dusting. You can effectively clear the metal fins by blowing air through them. Only remove the cooler if you are replacing the thermal paste.
4. Can I use a hair dryer to blow out dust?
It is highly discouraged. Even on the “cool” setting, hair dryers don’t produce enough focused air pressure to clear deep dust, and accidentally using the heat setting can melt plastic shrouds or warp delicate components.
5. Why shouldn’t I let my PC fans spin when cleaning?
Spinning a PC fan with compressed air turns its motor into a generator. This pushes electrical voltage backward into the motherboard or GPU, which can easily fry the fan header or cause irreversible damage to the board itself.
6. What kind of alcohol is safe for PC parts?
Always use Isopropyl Alcohol (IPA) with a concentration of 90% or higher (99% is best). It contains very little water, cuts through sticky grime easily, and evaporates almost instantly, making it totally safe for electronics.
7. Do I need to wear an anti-static wrist strap to clean my PC?
While not strictly mandatory if you are just using an air blower and not touching the naked circuitry, touching the metal chassis of your plugged-in (but powered-off) power supply before working will ground you and eliminate static risks.
8. How do I clean the power supply (PSU)?
Never open a power supply—the capacitors inside can hold a lethal charge even when unplugged. To clean it, simply wipe the exterior, clean the removable dust filter underneath the case, and gently blow compressed air through the PSU’s rear exhaust grille.
9. Can dust actually break my computer?
Dust itself usually doesn’t short circuit components, but it causes severe overheating. Prolonged overheating leads to thermal throttling (slow performance) and degrades the lifespan of your CPU, GPU, and motherboard capacitors.
10. What is a lint-free cloth?
A lint-free cloth is a piece of fabric, typically microfiber, that does not shed tiny fibers when wiped across a surface. They are perfect for PCs because they won’t leave fuzzy residue caught on your motherboard solder joints.
11. Why is my PC still loud after cleaning?
If your PC is perfectly clean but still loud, you may have an aggressive fan curve set in your BIOS, or the thermal paste between your CPU and cooler has dried out and needs to be replaced.
12. Can I use water to wash my dust filters?
Yes! Removable plastic and mesh dust filters can be washed in the sink with warm water. However, you must let them air dry 100% completely before putting them back into your PC.
13. Do I need to remove my GPU to clean it?
For a basic dusting, no. You can clean it while it is plugged into the motherboard. However, if the heatsink is deeply clogged, removing the GPU makes it much easier to safely hold the fans and blast air through the fins.
14. Are electric dusters better than compressed air cans?
Yes, electric dusters are a better long-term investment. Compressed air cans freeze up, spray harmful liquid propellants if tilted, and cost money to replace. An electric duster provides infinite, safe airflow.
15. Does cleaning my PC void the warranty?
Simply opening the side panel and blowing out dust will not void your warranty. However, disassembling the graphics card cooler or removing the power supply cover generally will void manufacturer warranties.
Bonus Troubleshooting
We’ve talked a lot about how to clean up desktop hardware here, but what if you are dealing with a portable machine that is constantly locking up, crashing, or stuttering during your gaming sessions?
Laptops suffer from dust buildup and severe thermal throttling much faster than massive desktop cases do because their cooling systems are so compact. If your portable setup is driving you crazy with random lockups, don’t throw it out just yet. Head over to our dedicated troubleshooting guide on what to do when your laptop hangs and freezes constantly to get it running smoothly again.